Mastering the Plane Capital Monogram Letter J SVG Cut for Professional Laser Projects
There is a distinct satisfaction in watching a laser cutter or CNC router bring a digital design to life, especially when the result is a personalized, multi-layered monogram. The Plane Capital Monogram Letter J SVG Cut represents more than just a single letter; it is a carefully engineered digital asset designed specifically for creators who value depth and precision in their signage. Whether you are a small business owner crafting custom nursery decor, a hobbyist upgrading your home workshop, or a professional marketer looking for unique branded gifts, understanding how to properly utilize this file type is the difference between a mediocre project and a standout piece.
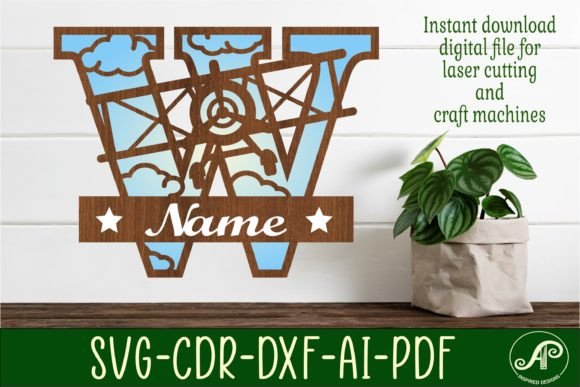
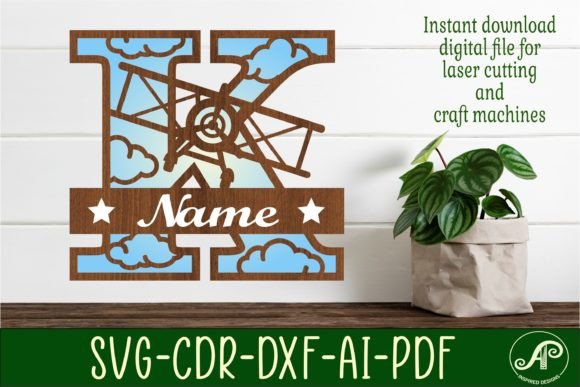
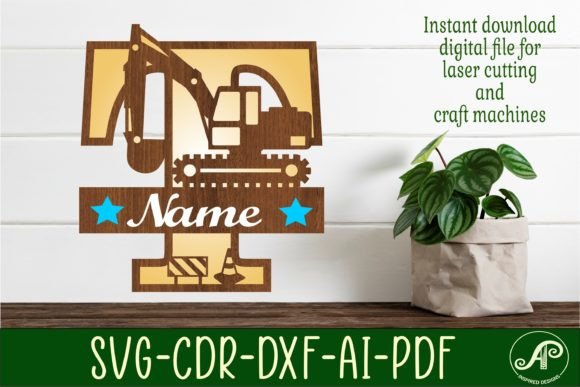
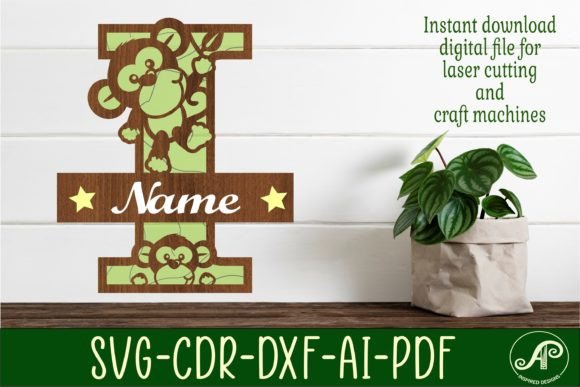
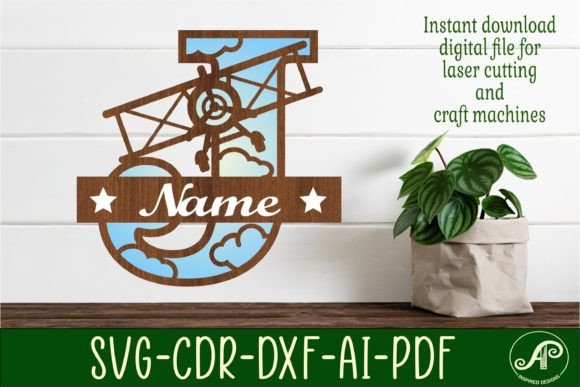
This digital download features a sophisticated three-layer architecture: a solid backing, a detailed front cut-out, and customizable top elements for names or additional accents. While the convenience of an instant download in formats like SVG, DXF, AI, CDR, and PDF is appealing, many users rush into the cutting process without fully evaluating the file structure or their machine's specific requirements. This often leads to wasted material, frustrated hours, and results that lack the intended professional polish. By taking a moment to understand the nuances of layered vector files, you can avoid these common pitfalls and ensure your final product looks as good as the preview image.
Understanding the Multi-Layer Architecture
The primary allure of the Plane Capital Monogram Letter J SVG Cut lies in its dimensional design. Unlike flat decals or single-pass engravings, this file is built to create physical depth. The design typically consists of a base layer that provides structural support, a middle layer that forms the main shape of the "J," and top layers that allow for personalization with names or intricate cut-outs.
A frequent misunderstanding among beginners is treating these layers as a single entity. When you extract the zip folder, you will find multiple files or distinct paths within a single file, often color-coded (such as exterior cut lines in blue) to assist with machine setup. Ignoring these distinctions can cause your laser to attempt cutting all layers at once with the same power settings, resulting in burnt edges or incomplete cuts. The correct approach is to import the files into your design software—whether that's LightBurn, Illustrator, or CorelDRAW—and assign specific cutting parameters to each layer based on the material thickness you are using. For instance, your backing might require a full cut through 3mm plywood, while the detailed front layer might need a slightly different focus or speed to preserve fine details.
Common File Format Mistakes and How to Avoid Them
One of the most significant advantages of this listing is the variety of file types provided: SVG, DXF, AI, CDR, and PDF. However, having options can sometimes lead to analysis paralysis or the selection of the wrong format for your specific workflow. A common error is attempting to use a raster-based PDF in a vector-only environment, or conversely, importing a complex AI file into a basic CNC controller that struggles with bezier curves.
- SVG vs. DXF: If you are using a desktop craft cutter or a modern laser interface, the SVG file is usually your best bet. It retains layer information well and scales without losing quality. However, if you are working with older industrial CNC routers or specific CAD software, the DXF format is often more reliable as it simplifies the geometry into polylines that machines interpret easily.
- AI and CDR Compatibility: Users with Adobe Illustrator or CorelDRAW should leverage the native AI or CDR files. These allow for the easiest editing of the "little cut outs on top" mentioned in the design specs. A mistake here is failing to "expand" or "outline" strokes before sending the file to the cutter, which can result in the machine ignoring text or decorative elements entirely.
- PDF Usage: While the included PDF is great for visual proofs or printing templates, ensure you are not trying to cut directly from a flattened PDF unless you have verified that the vector paths are intact.
To avoid compatibility headaches, always open your chosen file in your design software first. Check that the paths are closed and that there are no stray nodes. This simple verification step prevents the machine from making erratic movements during the cut.
Sizing and Material Considerations
Because this is a digital download, you have the freedom to size the Plane Capital Monogram Letter J SVG Cut exactly as needed for your project. However, scalability comes with a caveat regarding material integrity. A design that looks perfect at 6 inches may lose structural stability if scaled up to 24 inches without adjusting the material thickness or adding internal supports.
Many creators overlook the relationship between the "detailed front cut out" and the material grain. If you are cutting wood, scaling the design too large on a thin sheet can cause the delicate parts of the "J" to snap off during weeding or installation. Conversely, scaling it too small on thick material can make the layers look clunky and disproportionate. Before committing to your final material, it is wise to run a test cut on a scrap piece of the same thickness. This allows you to verify that the kerf (the width of the cut made by the laser) does not compromise the fit between the layers. A tight fit is essential for the glued assembly to look seamless; if the layers are too loose, the sign will look amateurish.
Maximizing Efficiency and Presentation
For entrepreneurs and freelancers, time is money. One overlooked aspect of using pre-made designs like this is the organization of your digital assets. Since the download comes in a zip folder, take the time immediately after purchase to organize these files into a logical directory on your computer. Label them clearly by format and intended use. This habit saves valuable time when you have a rush order and need to locate the correct DXF or SVG file quickly.
Furthermore, consider the finishing process during the design phase. The "exterior cut lines in blue" are a helpful guide, but they also indicate where sanding or finishing will be required. If you plan to paint the monogram, remember that the three-layer construction creates nooks and crannies where paint can pool. A better approach is to assemble and finish the layers individually before final assembly, or to use a stain that penetrates evenly without obscuring the fine details of the cut.
Making the Right Decision for Your Workflow
Before downloading and cutting, ask yourself a few critical questions. Do I have the software capable of editing these specific file types? Do I have the appropriate material thickness to support a three-layer design? Have I accounted for the time needed to assemble and glue the layers? Answering these questions ensures that the Plane Capital Monogram Letter J SVG Cut enhances your workflow rather than disrupting it.
Remember, this listing is for a digital download only; no physical item will be mailed. This means the quality of the final product rests entirely on your preparation and execution. By respecting the complexity of the layered design, choosing the correct file format for your machine, and testing your settings, you transform a simple digital file into a tangible, high-quality piece of art. Whether you are creating a gift for a loved one or inventory for your shop, attention to these details is what separates a hobbyist project from a professional-grade creation.