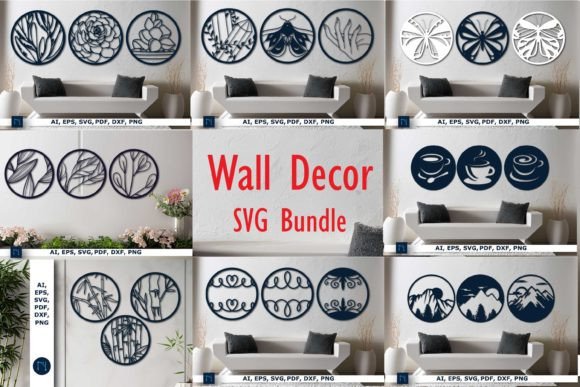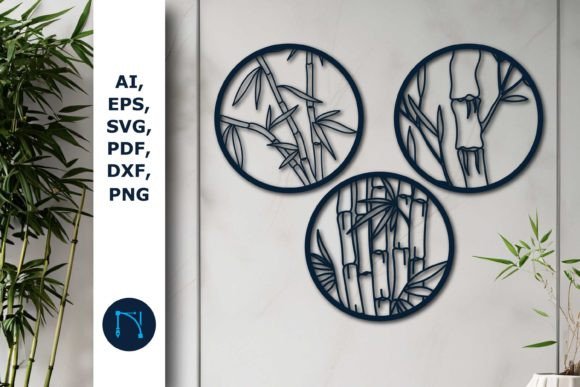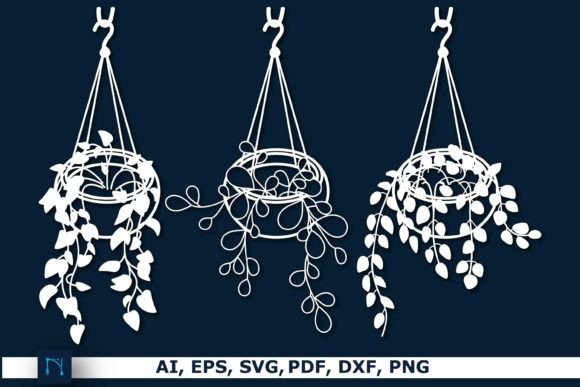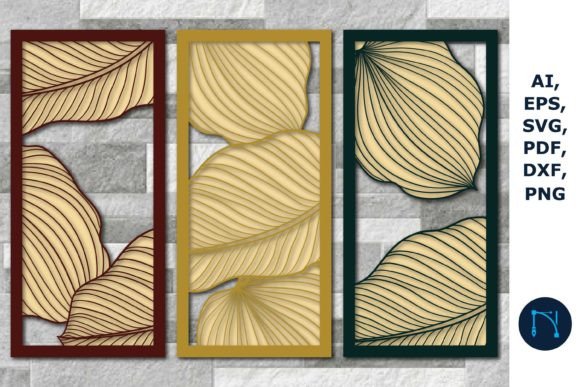
3D Monstera Panels Wall Art Decor Bundle
Transforming a blank wall into a statement piece often requires more than just paint; it demands texture, depth, and organic elegance. The 3D Monstera Panels Wall Art Decor Bundle has emerged as a favorite among DIY enthusiasts and professional decorators alike. This digital collection allows creators to produce stunning, tropical-inspired wall features using laser cutters, CNC machines, or even manual crafting tools. However, the excitement of downloading instant art can sometimes overshadow the technical realities of working with layered designs. Understanding exactly what you are buying and how to prepare your workflow is essential for achieving a polished, professional result.
Understanding the Digital Nature of the Product
The most critical detail that first-time buyers often overlook is the format of the product. When you purchase this bundle, you are acquiring a set of digital files, not a physical object. No cardboard, wood, or acrylic panels will arrive at your doorstep. Instead, you receive a single zip file containing all the necessary data to create the art yourself. This distinction is vital because it shifts the responsibility of material sourcing, cutting precision, and assembly entirely onto you.
Many consumers mistakenly expect a "plug-and-play" solution where the hard work is already done. In reality, this bundle provides the blueprint. You must have access to the appropriate hardware—such as a laser cutter or a vinyl cutter—and the skills to operate it. If you do not own these tools, you will need to partner with a local makerspace or a professional fabrication service. Failing to account for this can lead to frustration, as the files sit unused on your hard drive while you search for a way to bring them to life.
Navigating File Formats and Compatibility
The bundle includes a comprehensive range of file formats: SVG, PNG, DXF, AI, EPS, and PDF. While this variety ensures compatibility with almost any design software, it can also be overwhelming for beginners. A common mistake is selecting the wrong file type for your specific machine, which can result in poor cutting paths or lost details.
- SVG and DXF: These are typically the best choices for laser cutters and CNC machines. They preserve vector paths, ensuring clean cuts without pixelation.
- AI and EPS: Ideal for users working in Adobe Illustrator or other professional vector editing software. These allow for easy modification of nodes and paths before sending the design to production.
- PNG: This is a raster image format. It is useful for reference or printing but should generally be avoided for cutting unless you are using a specific print-and-cut workflow with high-resolution settings.
- PDF: Often used for viewing or printing templates, but less efficient for direct machine cutting compared to SVG or DXF.
To avoid errors, always check your machine’s software requirements before opening the files. For instance, if you are using LightBurn or LaserGRBL, SVG or DXF files will offer the smoothest experience. If you attempt to use a low-resolution PNG for a large-scale cut, you may encounter jagged edges that ruin the aesthetic of the monstera leaves.
Scaling and Proportion Pitfalls
One of the advertised benefits of this bundle is the ability to easily resize the artwork to your required dimensions. While this flexibility is powerful, it introduces the risk of proportional errors. Monstera leaves have intricate cutouts and delicate veins. If you scale the design down too much, these fine details may become impossible to cut cleanly, especially if you are working with thicker materials like plywood or MDF.
Conversely, scaling up without adjusting the kerf (the width of the cut) can lead to pieces that do not fit together correctly during assembly. A practical approach is to create a small test cut using scrap material before committing to your final board. This allows you to verify that the tabs, slots, and overlapping layers align perfectly at your chosen size. Ignoring this step can result in wasted materials and a disjointed final appearance.
Material Selection and Layering Strategy
The visual impact of 3D monstera panels relies heavily on the contrast between layers. A frequent oversight is choosing materials that lack sufficient contrast or texture. For example, using the same shade of white acrylic for every layer will flatten the design, making it look two-dimensional despite the physical depth. To achieve the desired 3D effect, consider using varying shades of green, natural wood tones, or even mixing materials like wood and acrylic.
Additionally, the thickness of your material matters. If the material is too thin, the panels may warp or fail to stand out from the wall. If it is too thick, the weight may become an issue for mounting, and the cutting time will increase significantly. Always consult the material specifications recommended for your cutting tool. For beginners, starting with 3mm or 6mm plywood is often a safe and cost-effective choice that provides enough rigidity for a striking display.
Assembly and Mounting Considerations
Even with perfect cuts, the final presentation depends on assembly. Rushing this stage can lead to visible glue marks or misaligned leaves. Use a dry-fit method first, arranging all pieces without adhesive to ensure the composition looks balanced. Once satisfied, use a high-quality wood glue or acrylic cement, applying it sparingly to avoid seepage.
Mounting the finished panel is another area where planning is essential. Due to the layered nature of the art, the piece will have depth. Standard picture hooks may not suffice. Instead, consider using French cleats or heavy-duty command strips designed for heavier objects. Ensure the wall surface is clean and dry to prevent the artwork from detaching over time.
Making an Informed Decision
Before purchasing the 3D Monstera Panels Wall Art Decor Bundle, take a moment to evaluate your current resources. Do you have access to a laser cutter or CNC machine? Are you comfortable editing vector files if minor adjustments are needed? If the answer is no, consider whether you are willing to outsource the cutting process. The cost of hiring a fabrication service should be factored into your total budget.
This bundle is an excellent resource for those who value customization and hands-on creation. It offers a high degree of creative control, allowing you to tailor the size, color, and material to match your interior design perfectly. However, it is not a shortcut. It requires patience, precision, and a willingness to learn the nuances of digital fabrication. By understanding the file formats, respecting the scaling limitations, and choosing materials wisely, you can transform these digital files into a breathtaking focal point for any room.
Ultimately, the satisfaction comes from the process as much as the result. Take the time to read the included instructions, join online communities for advice on specific machines, and start with a small test project. With careful preparation, this bundle can elevate your space with the lush, timeless appeal of tropical botanicals.